My Everyday Makeup Routine

It is finally time to share with you all one of my most requested blog posts: my everyday soft glam makeup routine! After so many years of working on my makeup and finding the products that work best for my skin, I feel SO confident in my makeup routine, and I am so excited to share all my favorite products, brushes, and tips with you! After reading this post, make sure to check out my YouTube video!
Skin Preparation

Face Pads
Your base routine is either going to make or break your makeup application, so while it may feel easy to skip these steps, they are a crucial part of your routine. I recently started using these face pads, and let me tell you, it has changed the game! It literally removes everything off of your skin that you don’t want, and it gives your makeup the best chance to stay on your skin flawlessly.

Moisturizer
After wiping your face down with face pads, you better be moisturizing your skin (especially if you are an oily girl like me!). This is one of my favorite moisturizers because it is light on my skin and doesn’t make my skin feel sticky. I put a couple of dots all over my face and rub it in as much as I can to make sure my skin absorbs it all!

Primer
It is now time to prime your skin, and once again, this is not a step you should be skipping! My favorite primer in THE world is the power grip primer from e.l.f. The product is so sticky but doesn’t make my skin look oily. It really locks my base makeup in place, and I feel like it does exactly what it’s supposed to be doing without weighing my skin down.
Base

Foundation
Now it is time to start your base application. My current obsession is the YSL All Hours foundation, and while it may be super expensive, I think it is worth splurging if you really care about your makeup routine. It is genuinely the best full coverage foundation that I have ever used! When I apply my foundation, I start by stroking it down my face without pushing the brush into my skin or dragging the foundation around. A light touch is all you need!

Contour Stick
It is now time to contour! I have been loving the Lys contour stick as it’s super creamy and blends into the skin really well. It also doesn’t look patchy when you blend it in, which is common with other bronzing products I’ve used. I apply this to my cheekbones, the sides of my forehead, the sides of my nose, and my jawline. I pat the product into my skin until blended (make sure to pinch your brush when dragging the contour on your nose down).

Blush
Now it is time for one of my favorite steps: blush! I am one from Juvia’s Place because it is THE most pigmented blush I have ever found. You need the tiniest little dot on each of your cheeks, and I tap it out with another beauty blender so it literally sinks into my skin and looks super natural. A little goes a long way with this product, so make sure to start with less and add more as you go if needed!

Concealer
My favorite concealer is Shape Tape from Tarte. This is a really thick concealer that covers every single thing you want it to hide. I place mine directly under my eyes, on my chin, and right between my eyebrows. Basically, place it anywhere you have discoloration or breakouts. I blend it out with the same beauty blender I used for my foundation, and I make sure to tap it out until it is blended perfectly. You can also pat some on your eyelids to prepare them for the next step!

Loose Powder
Setting your face is crucial to make sure your makeup doesn’t crease and will last all day. I use the Givenchy Setting Powder, and let me tell you, my makeup doesn’t move! I lightly tap my brush in the powder and swirl it around the lid to tap off any excess product. I really press the powder into my skin, starting under my eyes. This is a step that is up to you to see how much or little product you need.
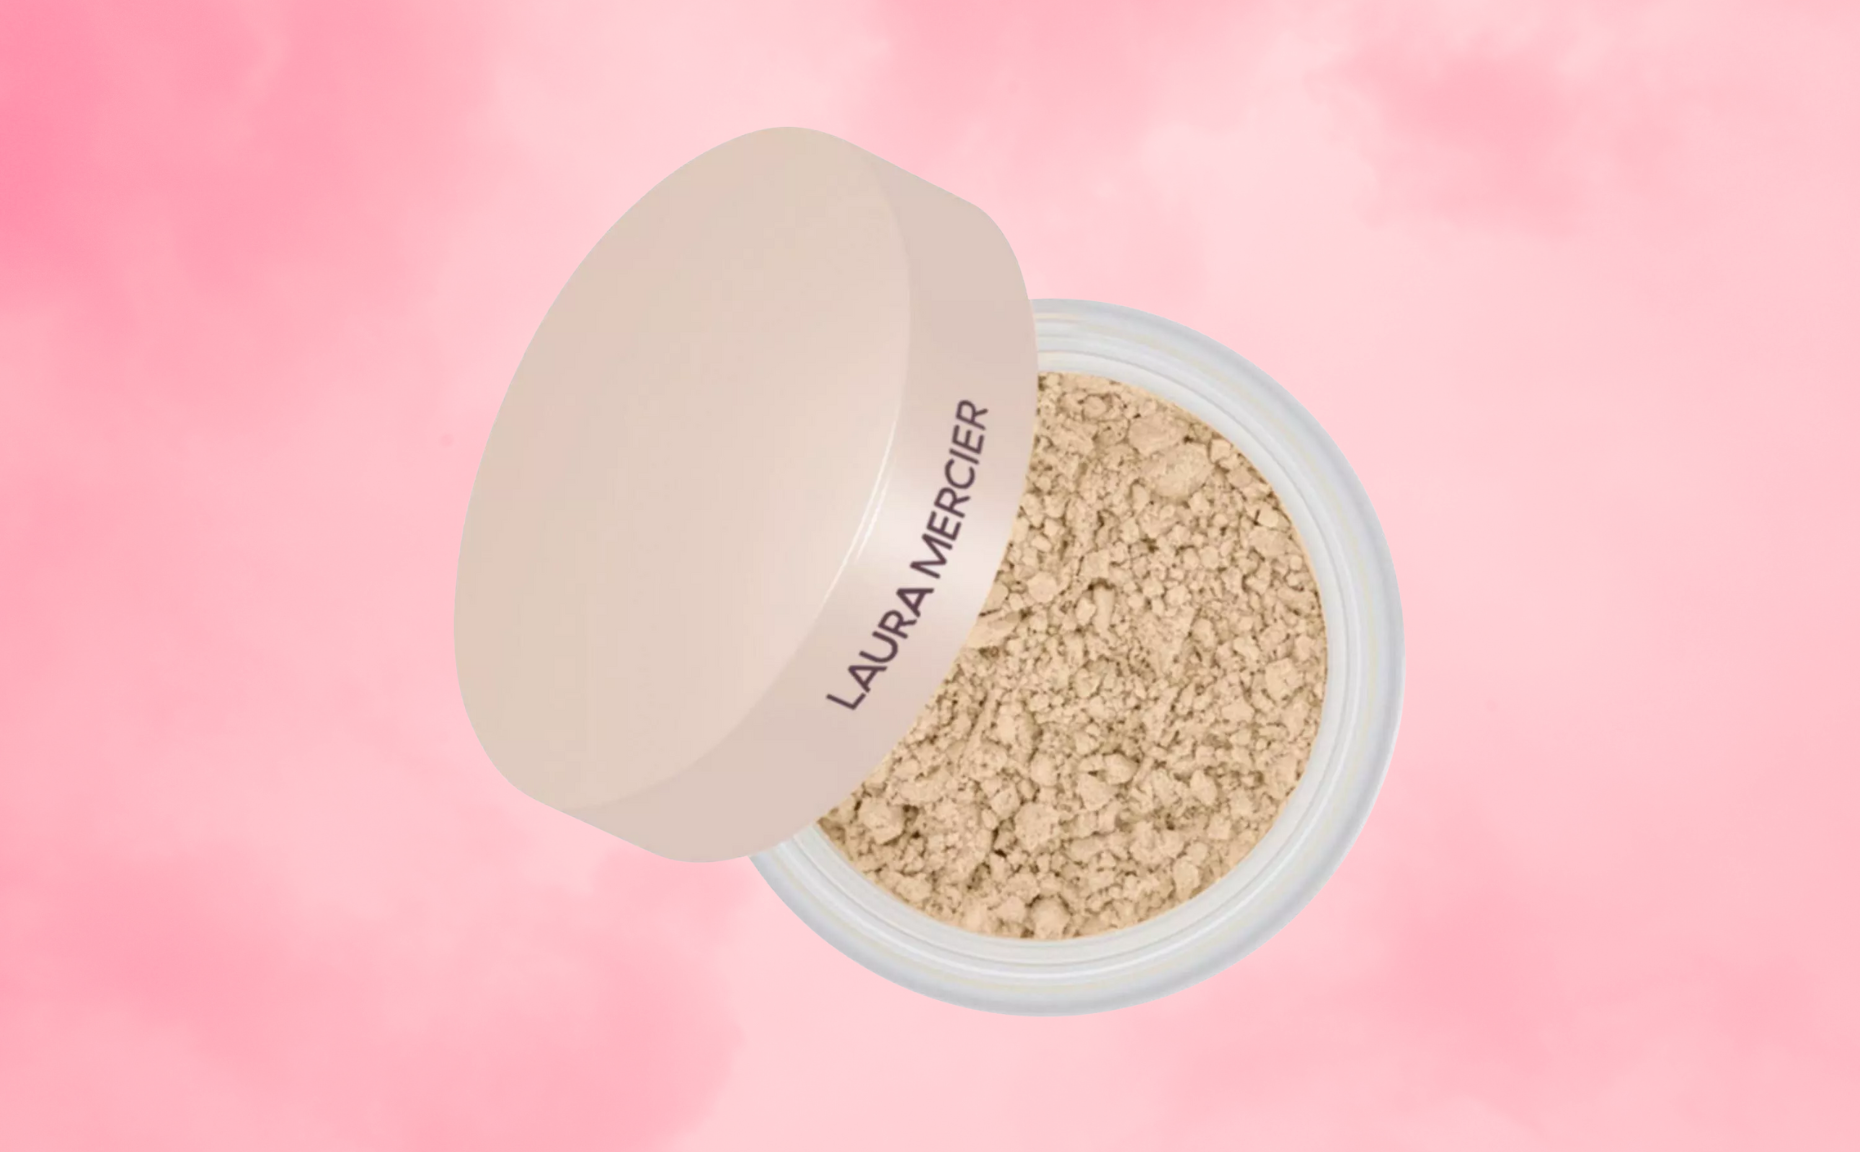
Setting Powder
When it comes to setting my entire face, I use Laura Mercier Setting Powder. I use a larger brush than when I used the Givenchy Powder to make sure that my entire face is getting set. Really try to focus on the areas you didn’t use the loose setting powder on, so your forehead, cheeks, and neck. All your liquid products should now be set!

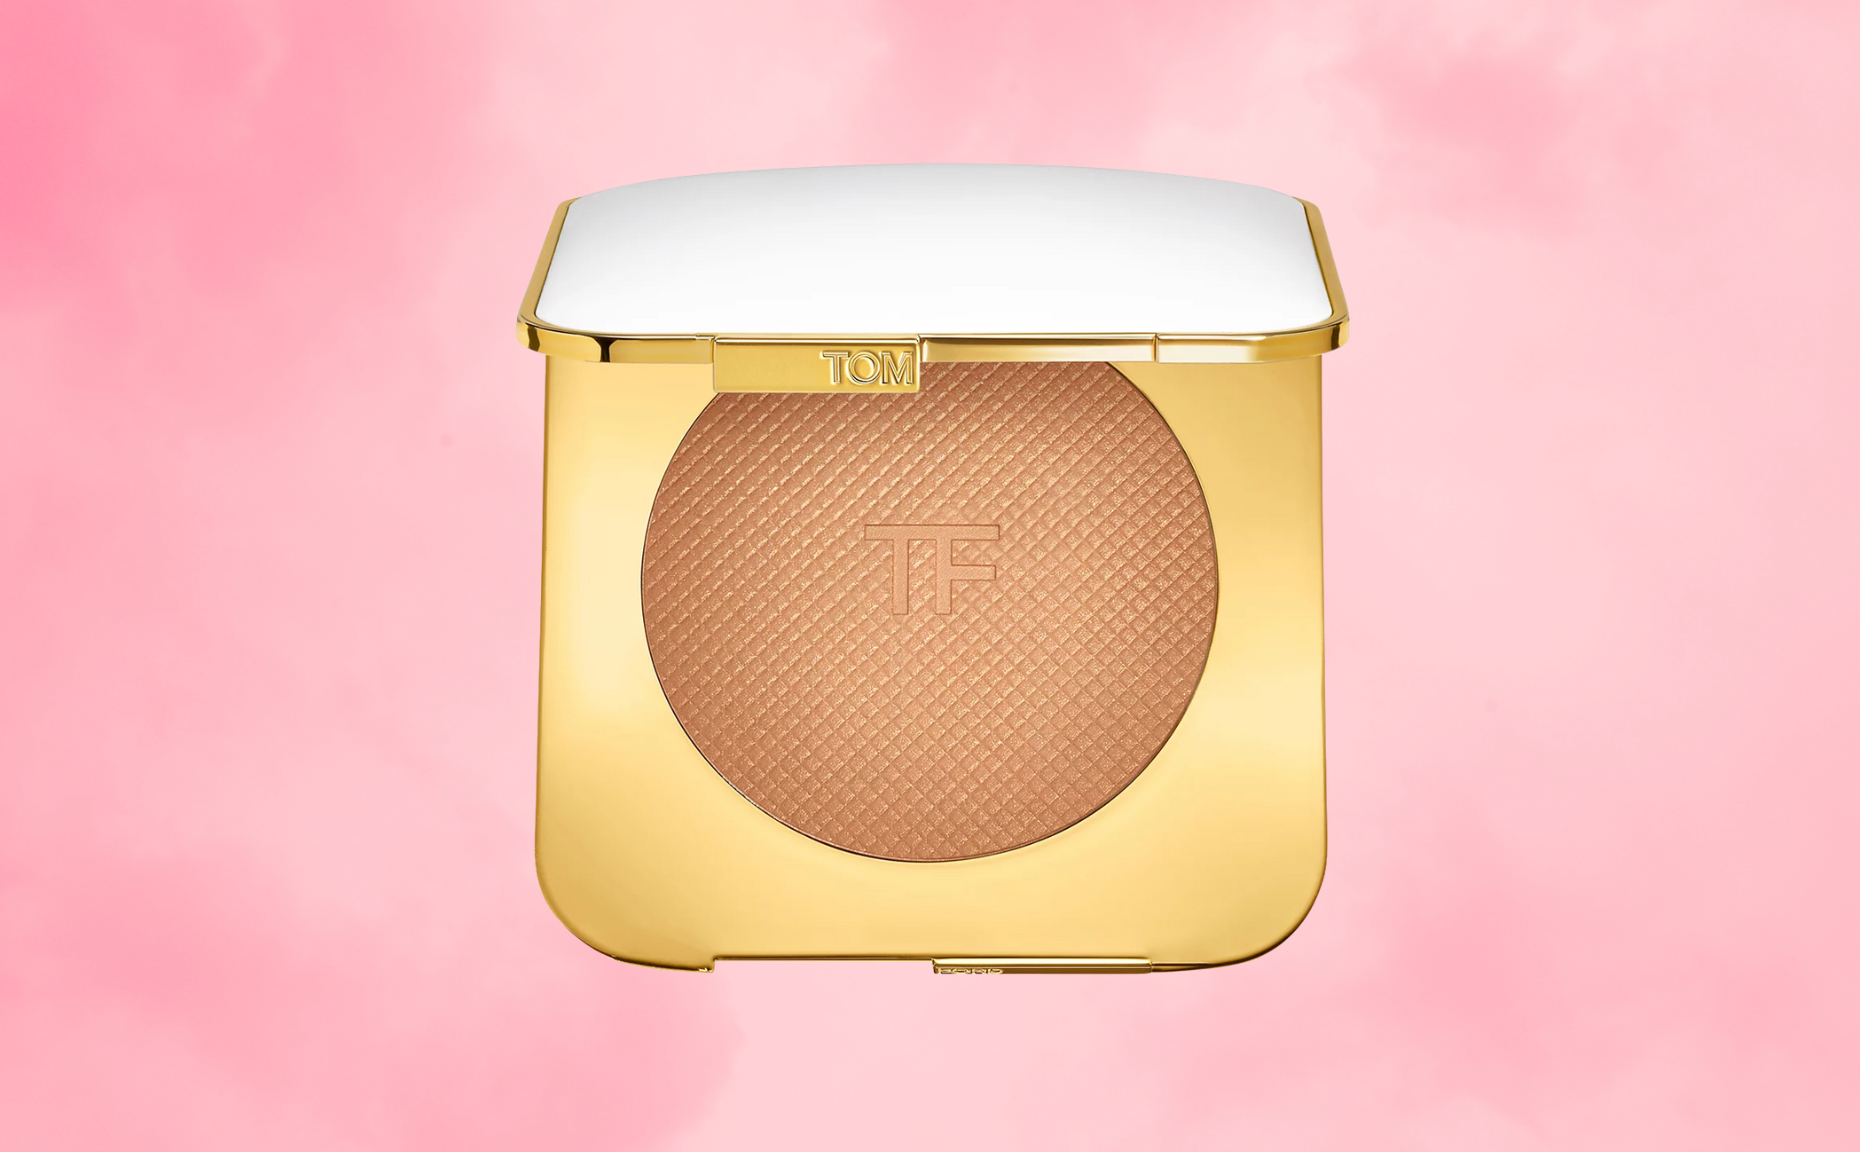
Tom Ford Bronzer
If you thought we were done making our faces bronzy, think again. It’s now time to go in with the Tom Ford Bronzer and apply it to the same exact places you put your bronzer stick. I use the same exact contour brush as before and really pack this powder into my skin. But we aren’t done contouring yet…

Hoola Bronzer
Yeah, I double contour my face… I go back in and apply my Hoola Bronzer right on top of the Tom Ford bronzer. Personally, I think it adds a little bit more depth to my face as the Hoola Bronzer is a shade darker than the Tom Ford bronzer. While it may seem silly to repeat the step, try it out and tell me it doesn’t look AMAZING.
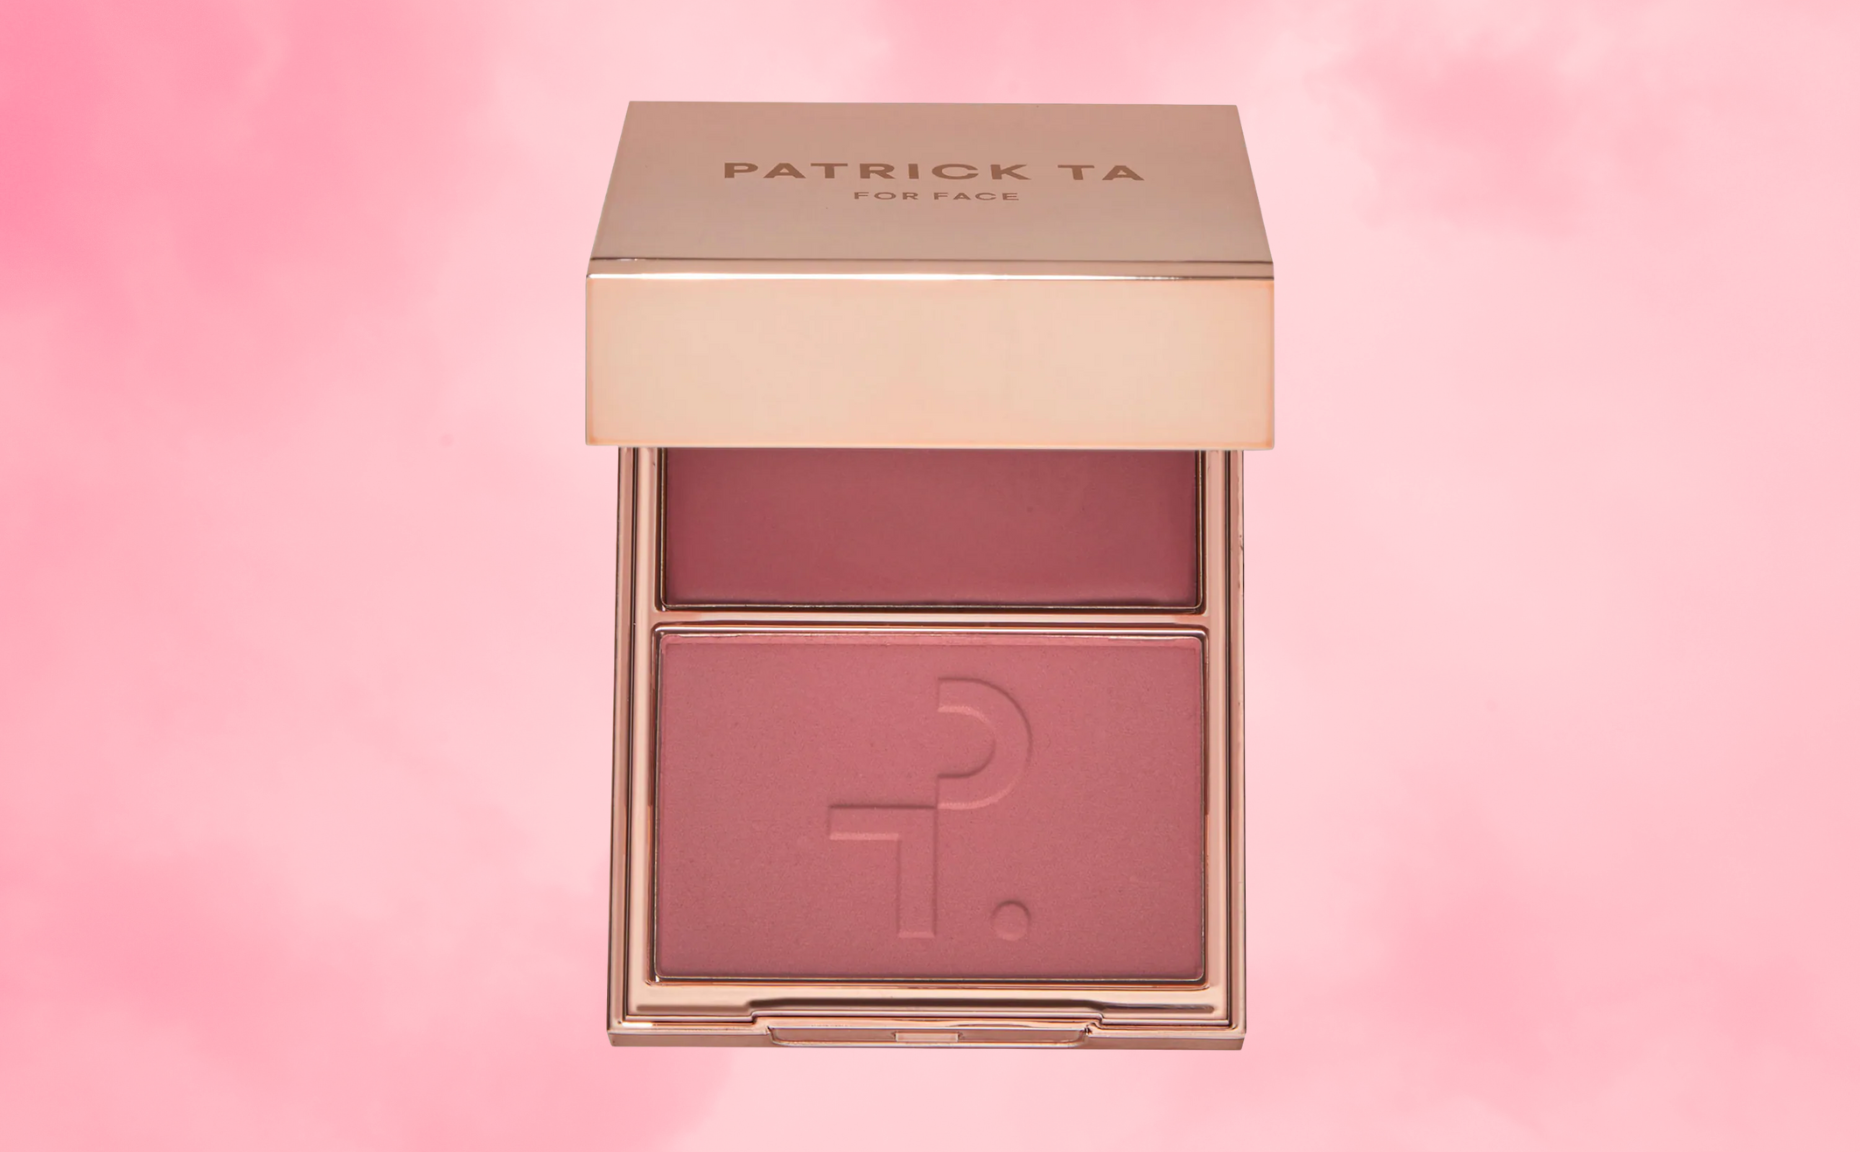
Blush
I was a little skeptical of the Patrick Ta blush when I first bought it, but it really lives up to the hype! It is the most perfect rose color for your cheeks and gives off the most gorgeous pigment. You all know I am a Southern girl to my core, so I love a good blush moment, and this gives me all the color I could need!

Pressed Powder
We are almost done with powders, but not before we use the Charlotte Tilbury Pressed Powder. I take the same brush I used for my setting powder and tap the product into my T-Zone, under my eyes, under my contour, and down to my neck. This is a step that is crucial for me because I have oily skin, so you might be able to skip this if your skin isn’t oily!
Brows
Make it stand out
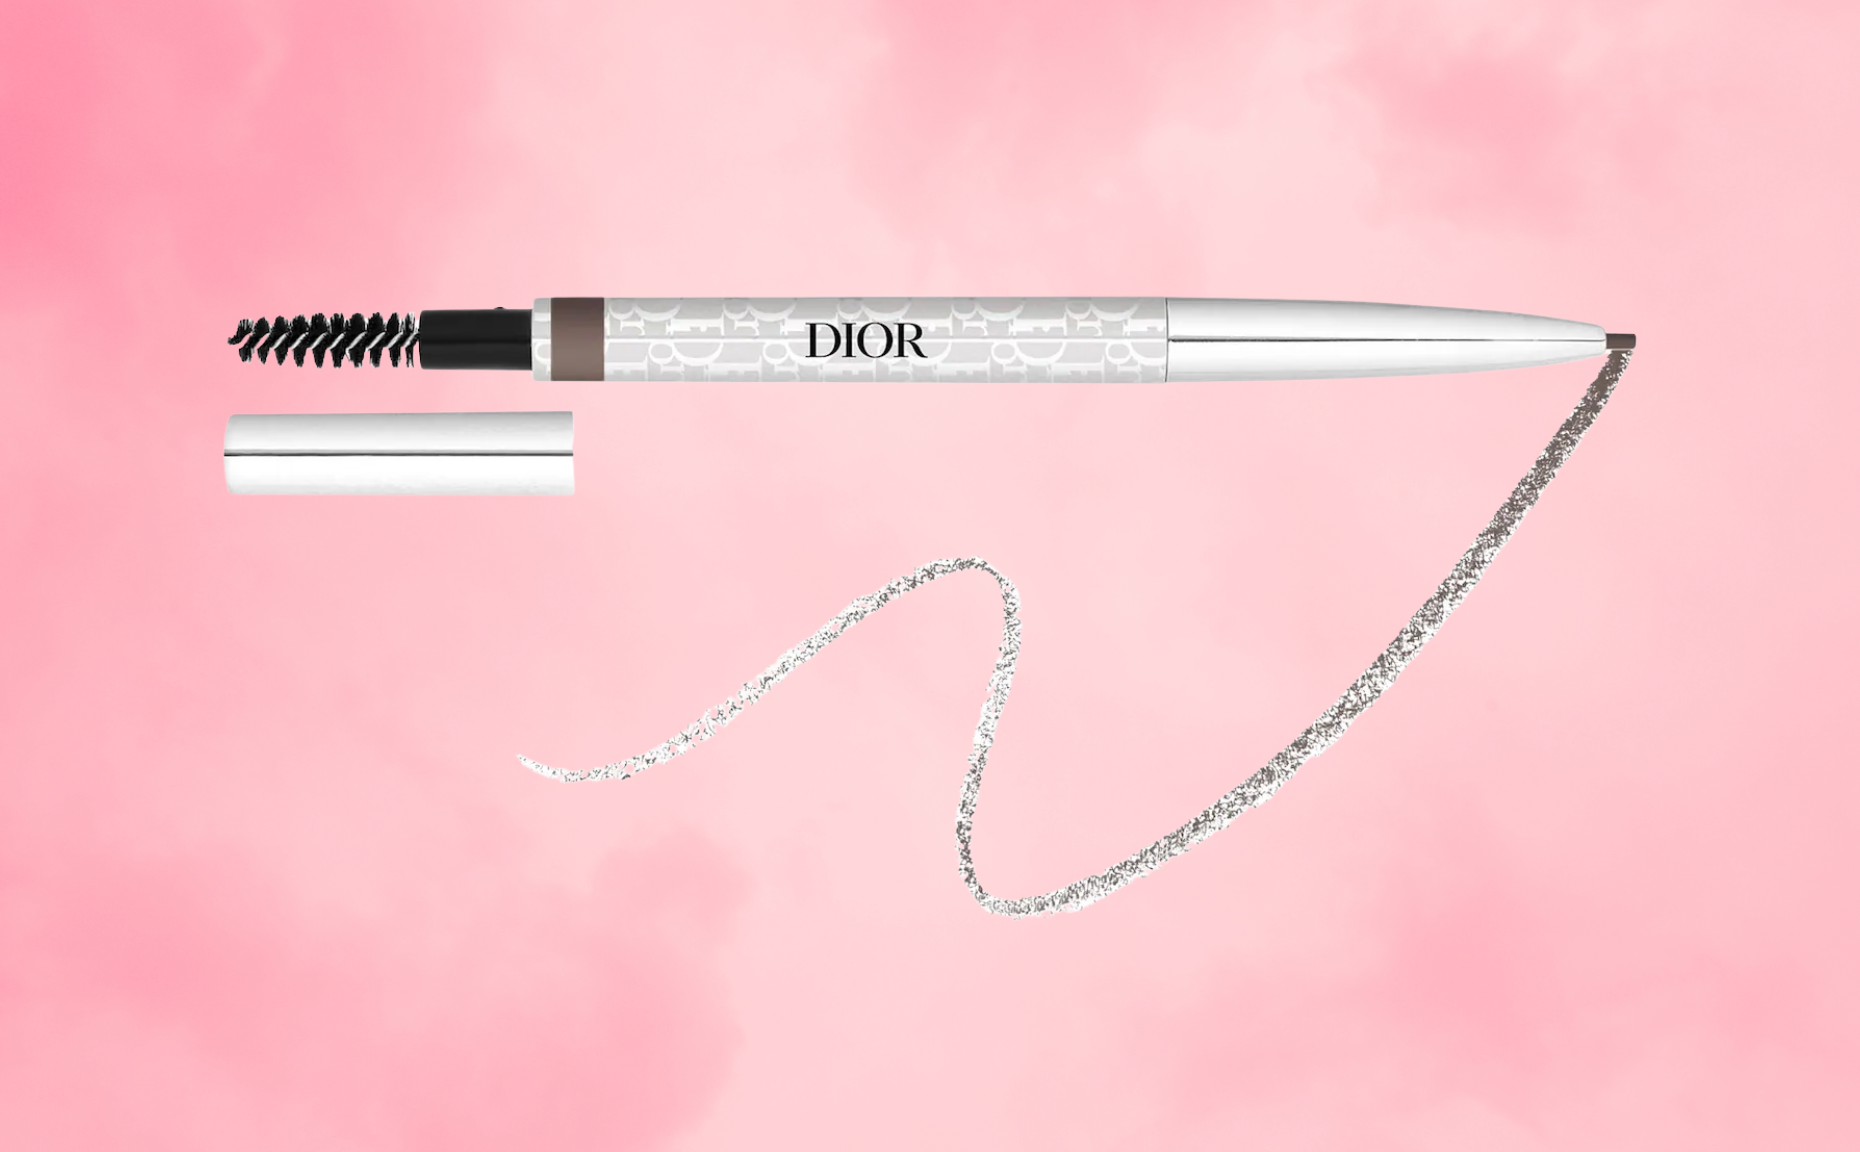
It is now time to do my brows! I don’t get my brows laminated or tinted, so these are the steps I use to get my natural brows looking perfect. I start with my Dior Brow Styler, and begin drawing a line from where my eyebrow starts and stop where it begins to curve to continue the line down and outward to create the shape I want. Follow your natural hairline before slowly starting to slowly fill in your browns, making sure to swipe up when you get back to the front to match your hair direction.

Eyebrow Gel
To set my eyebrows, I use the Morphe Micromanager. When applying, I make sure to swipe this up my brow and slightly down as I work down my eyebrow. It’s super important to try and follow the natural hair growth direction of your eyebrows to make sure they still look natural.
Eyes
Tom Ford Bronzer
When it comes to my everyday eye look, I am a huge proponent of using what you’ve already put on your face. So, we are going back in with the Tom Ford Bronzer and wiping it onto my eyes using windshield wiper motions. I also like to slightly flick it outward to add some natural dimension to my eyes.

Highlighter
While we haven’t applied highlighter to our face yet, it’s time to apply it to our eyes! Whether I use a brush or my finger, I tap the product into the inner corner of my eye until I reach the center of my eye. This adds the perfect amount of shimmer without your eye looking completely matte. During this step, you can also add some on your nose and cheekbones with another brush. Pro tip, draw an exclamation point on your nose with the tip being the dot at the bottom!

Eyelash Curler
Now it is time to work on our lashes! As someone who has pretty straight lashes, it is super important that I use an eyelash curler to give my lashes the lift they need. I normally heat the curler up with my hair dryer to help it shape my lashes and make them last all day!

Mascara
Let me just say, I used this L’Oreal mascara in high school, and when I recently bought it from the store, I was blown away! It is the most affordable mascara out there while also being the best one I have ever used! It gives my lashes amazing length and volume, and it really helps my eyes pop. I don’t apply mascara to my bottom lashes for an every day look which is just a personal preference!
Lips
Lip Pencil
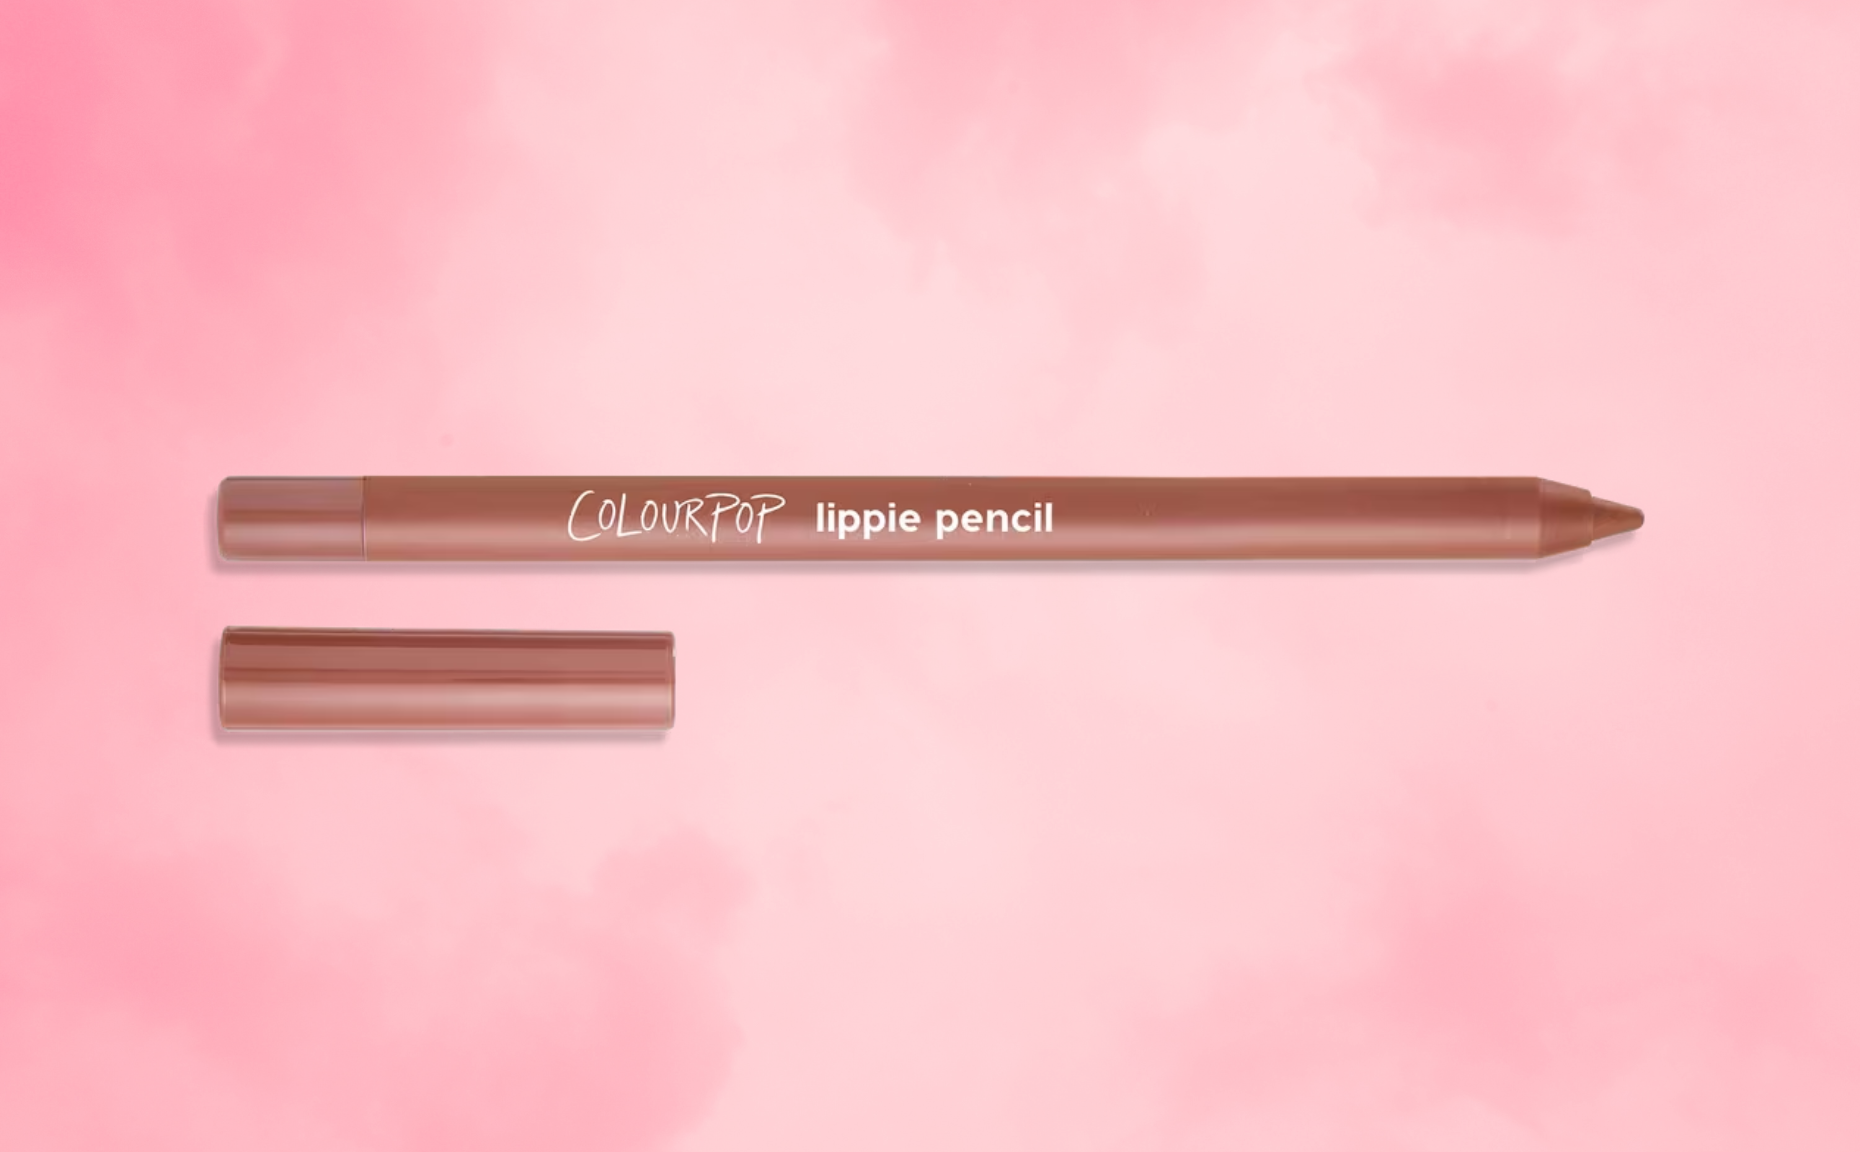
If you ever see me wearing a lip combo, it is 100% the exact products I’m sharing in this blog. It has been my go-to for months now, and I don’t know how I ever did my makeup without it. I start with the lip liner pencil from ColourPop, but before I apply it, I make sure to take a Q-tip and remove any product that made its way onto my lips. While the lip liner may seem a little dark, I promise it looks perfect once the lip combo is complete!

Lipstick
Next up, grab your Charlotte Tilbury lipstick in the shade Fair because it blends seamlessly with the ColourPop lipliner! This is a product that genuinely lasts all day no matter what I’m doing, and I feel like the color pay out is totally worth the price point. I don’t think my makeup look would be complete without this lipstick!

Lip Gloss
The final step for my lip combo is the Glow Reviver Lip Gloss from e.l.f. I refer to this as my “it girl lipgloss” because it is SO sparkly and shiny and just makes me feel like I can conquer the world when I wear it. I prefer the shade Crystal Baller because it doesn’t add much color but instead focuses on making your lippie shine!
Set

Setting Spray
The final step of my makeup routine is to use setting spray! Let’s be honest, we didn’t just do all this work to let it fade away by the middle of the day. I use the One Size Setting Spray, and my makeup has never lasted longer in my life. Fair warning, it does feel like hair spray going onto your face but that’s the whole point!
Brushes

Foundation Brush
I am literally in LOVE with my Sephora Foundation brush (number 47). This was a recommendation for me from a Sephora employee, and let me tell you, someone should give that girl a raise because I will never be using another foundation brush again! It’s literally SO affordable and gets the job done just like super expensive brushes on the market.

Beauty Blenders
After using my foundation brush, I use a damp beauty blender to tap the foundation into my skin. Personally, I think this step really helps blend the foundation into my skin and neck flawlessly and pats the foundation into my skin so it lasts on my skin all day! Make sure you get 2 blenders: one for your foundation and one for your blush!

Contour Brush
When it’s time to contour my skin, I am ALWAYS using my Dual-Ended Patrick Ta brush. I found this one a couple of years ago, and it literally changed the way I was blending my makeup into my skin. It’s soft and light, and this brush has literally lasted me forever which makes it worth the investment!

Blush Brush
When I realized how much I loved my Patrick Ta Contour Brush, I knew I had to get my hands on the blush brush, too! Once again, while these brushes may seem a little bit expensive, I have had them for SO long and they feel brand new. I love how versatile the brush is, and it works perfectly for both liquid and powder blush.

Setting Powder Brush
When it comes to setting the loose powder, I love to use the A3.2 brush from the Ariel and Morphe brush collaboration. While you can’t buy this brush on your own, I would totally recommend buying the whole set if you’re looking for new brushes or are just starting your makeup journey. I have the entire set, and I get so much use out of every single brush.

Full Face Setting Powder Brush
The other brush I use to set my entire face is the A21 brush from the same Ariel and Morphe brush collaboration. Once again, you can only get this specific brush if you buy the entire set, but let me tell you, it’s a great starter pack or chance to get yourself some nice new brushes if yours need replacing!

Contour Brush
When it comes to contouring, I need a brush that is good for both liquid and powder bronzers, so I am obsessed with the A58 brush from the Ariel x Morphe collab. This is a brush that you can purchase on its own, and let me tell you, I think this is one of the best brushes I have ever used to make sure my contour is blended seamlessly into my skin

Eyeshadow Brush
Like I said earlier, I don’t do a full eye look for my everyday routine, but I do love to add some dimension with bronzer. I use the A14 Signature Precision Setting Brush to really buff out the bronzer into my eyelid and create such a nice dimension that matches the rest of my face!

Highlighter (Eyes)
If I’m not using my finger to add highlighter to my eyes, I am using the Precision Concealer Brush 118 from Ulta. As I work the highlighter into the front of my lid, I like that this is a flat brush that really lets me pack in the shimmer to create a glowy look.

Highlighter (Cheeks)
I don’t love to add a ton of highlighter to my cheeks, so I’ve found the A22 brush from the Ariel x Morphe collab helps me apply the perfect amount of product. Let me just preface, I love a good highlighter, but because my skin is so oily, I know it is not going to need extra help looking shiny. So, if you aren’t oily, feel free to add as much highlight as your heart desires!
After so many years of working on my everyday makeup routine, I feel like I’ve finally found my perfect look! I hope you love all of these products as much as I do!